FREE AI BRANDING TRAINING On APril 29 - SAVE YOUR SEAT!
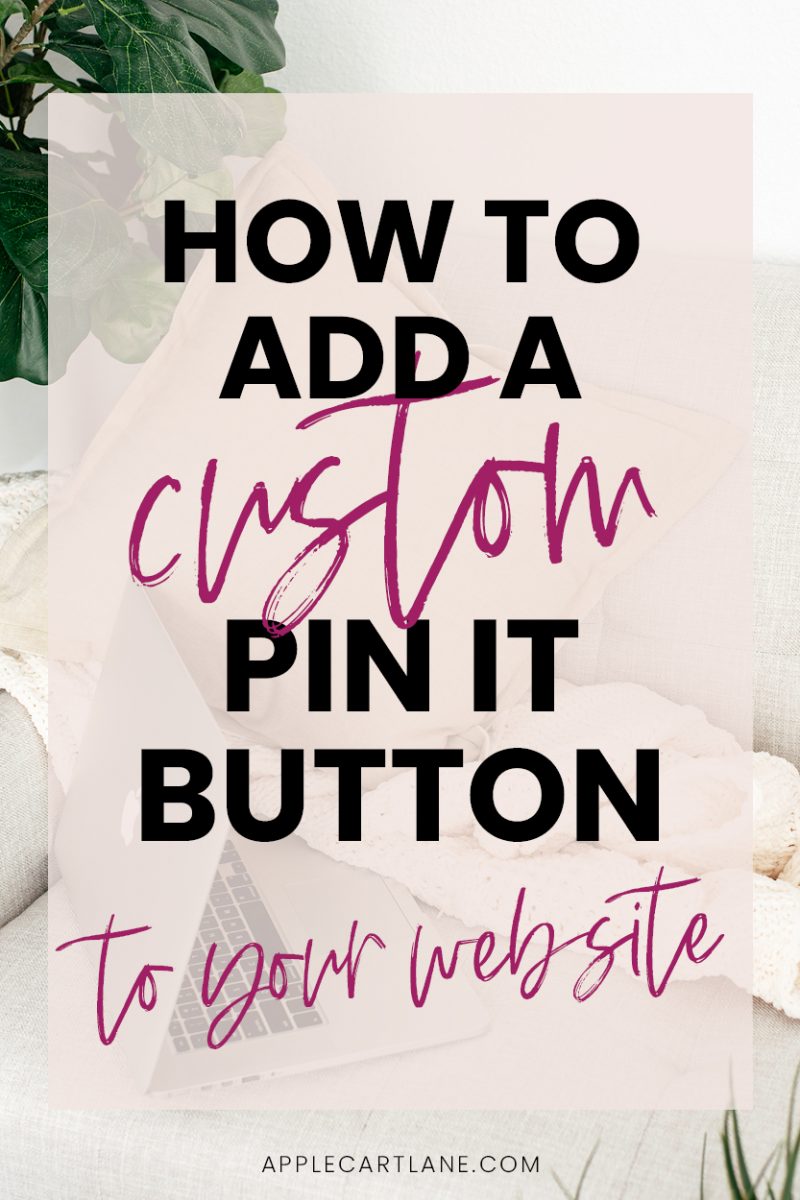 You’re browsing your favorite blog, hover over an image and a custom pin it image pops up encouraging you to pin on the spot. Nice touch, huh?
If you’ve wondered how to create your own custom pin it button for your WordPress website, you’re in luck. I’m going to show you exactly how to create and add a custom pin it image that will appear when someone hovers over an image on your website in just five simple steps. And, I have some free pin it buttons for you to download as a bonus!
What is a Custom Pin it Button?
A custom pin it button is a small image that appears when a visitor hovers over an image on your website. It’s just a little extra “bling” that encourages viewers to pin your images. You definitely want your viewers to easily be able to pin images from your website!
Why Do You Need a Custom Pin It Button?
Adding a custom pin it button is the easiest way to get your viewers to pin images directly from your blog. Most pinners have the browser Pin It bookmarklet installed, but there’s no guarantee. With a custom pin it button, your viewers can easily pin any image even if they don’t have the extension installed.
Sometimes, people just need a little extra push for them to do what you want them to do. Your custom pin it button is like a mini call-to-action that encourages direct pins straight from your blog!
Hold up!
Before we get into how to create a custom pin it button, you need to understand something:
If you want people to be growing your website and saving your pins, your pins need to look really good.
I love this element of a Pinterest strategy SO MUCH, that I’ve created a free on-demand Pin Design Workshop just for you!
If you’re ready to go from pin design shame to pin design gain, this training is going to put you on the fast track to creating beautiful pins for all of your content, that actually convert. Click right here to register and the on-demand workshop will be sent to you immediately! (No waiting for a specific time that you can’t commit to.)
Alright, now that you know that your pin design is crucial, and you’ve hopefully signed up for the free workshop, let’s dig in.
5 Steps to Your Own Custom Pin it Button
Step One
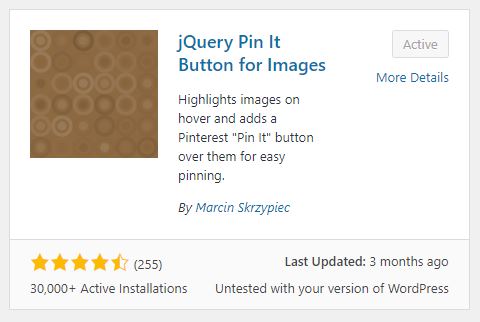
Assuming you already have a self-hosted WordPress website, log in to the back end, and get yourself into the Plugins area. Search for “JQuery Pin it Image.” Install and activate it.
Step Two
Create your custom pin it button in your design software of choice. You can create your custom pin it button any size you like, but 100 x 100 pixels is a good size to start with. You can hover over the pin image in this article to see what that size looks like on an image within a blog post. You may as well pin it while you’re up there to make sure it works!
Customize it with your blog colors, fonts, etc. Use a circle, square, triangle or get super creative and use a cupcake, flower, dodecahedron…. whatever your heart desires. Keep it simple. This is meant to be an icon that encourages people to pin, not a fancy work of art!
Step Three
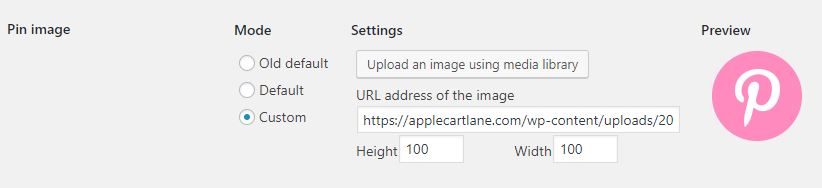
Configure the settings for your custom pin it button! Once your plugin is installed and active, its time to upload your custom image and make it just right!
In your WordPress back end, head over to Settings > jQuery Pin It Button for Images. There are way more settings in here than you’ll need to mess with; I’m just going to focus on the ones you should change.
The first setting we’re going to change is the minimum image resolution that will trigger the pin it button to show. You don’t want your button appearing on every image on your blog – just the ones you intend to be pinned, right?

Your numbers may be different than mine; you’ll have to figure out what works for you. I have mine set to 300 x 300 px because I like to put my pin image up near the top of my post, but shrink it down a bit so when a visitor comes from Pinterest, there is a familiarity there.
Related: The Beginner’s Guide to Creating Canva Pinterest Templates + a Video Tutorial
However, if you drop in full-size pins that you design at 600px wide, 600px might be your magic number. You can always poke around your website and see if the image is showing up anywhere you don’t want it to and edit this number later.
The next setting we’ll change is the setting that determines which pages you’d like your pin it button to show on. In this setting, you can also disable it on specific pages if you wish. As you can see in the screenshot below, I have my pin it button only showing on pages and single posts. I don’t want to encourage people to pin on an archive or category page. I want all of the traffic to direct to only my posts and pages.

Step Four
Customize how you want your custom pin it button to look. This is the fun part! Back at the top of the page, click the tab that says Visual. This is where, you guessed it, we’re going to modify exactly how we want the pin it button to appear. You’ll be uploading your custom button in this step.
Determine when you want your button to be visible (I have mine set to On Hover), where you want Pinterest to pull your description from, and the transparency of your button.
Related: 53 Pinterest Pin Design Ideas That you can Steal
The next section is where you can upload your very own custom pin it button! You can upload one you’ve created or use the free ones included in this post.
Choose exactly where on your image you want the button to show, top right, middle, etc.
Set the margins of your button. Margins are the space around an element. Set them to however many pixels you think looks good. I have my custom pin it image to appear at the top right of my images, and my margins are set to 20px on the top and right.
You can always play around with these settings later once you see what’s going on with your button after the first go.
Step five
Save your settings and go check out your sweet custom pin it button!
A custom pin it button gives your blog image a little more sparkle than the traditional Pinterest button and encourages your viewers to pin your beautiful images directly from your website. It’s a win-win!
I can’t wait to see what you create, and don’t forget to sign up for my free ON DEMAND Pin Design Workshop, The 5-Part Pin Design Formula!