FREE AI BRANDING TRAINING On APril 29 - SAVE YOUR SEAT!
When you’re browsing the ‘gram… the temptation to swipe left is flat out hard to resist, am I right?!
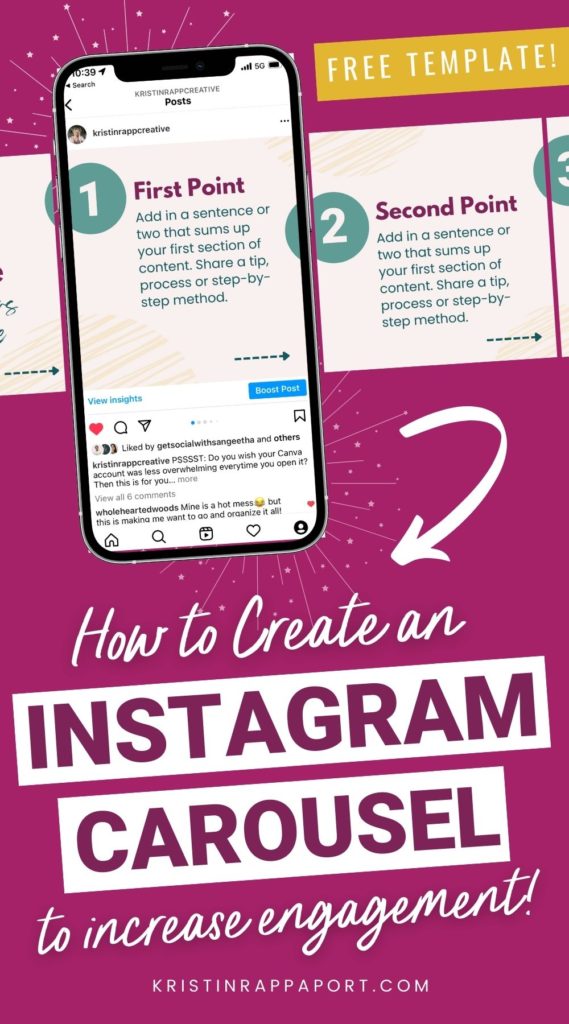
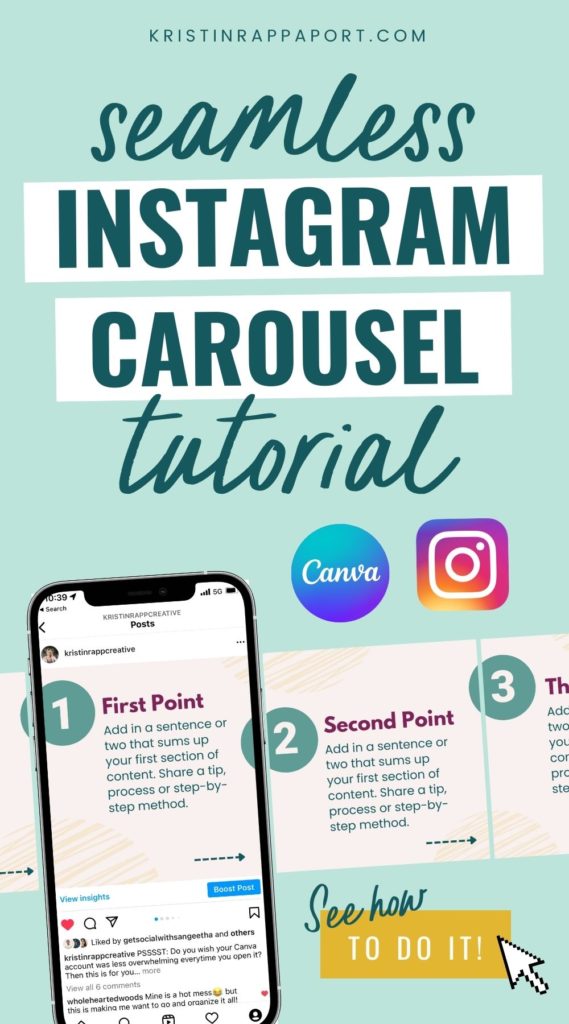
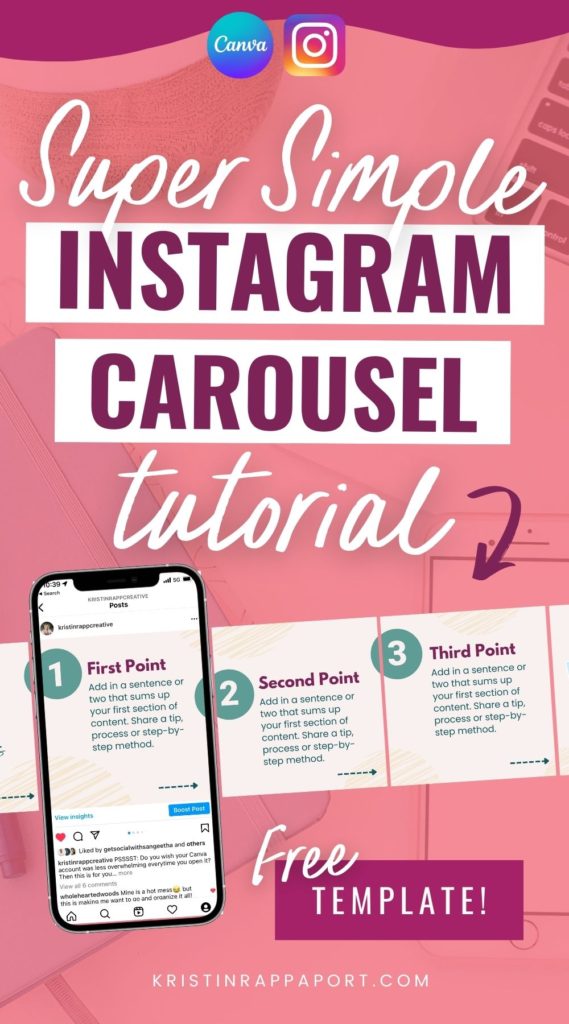
So If you’ve ever wondered how to create those engaging Instagram carousel posts to boost your own account – this video is for YOU!
If you want to take a crack at creating your own IG Carousel post – stick through the video because at the end – I’m sharing a…
Free Instagram Carousel Canva Template!
You’ll want to stick around until the end of the video because I’m going to share the link to a FREE Canva template so you can go create your own carousel post without starting from scratch!
Instagram Carousel Must-Knows
How many images can I use?
You can add up to 10 slides to an Instagram Carousel, and that’s awesome because carousel posts are really great for sharing tutorials or step-by-step content, testimonials, or even examples of your work.
According to Hubspot, Instagram, carousel posts get on average 1.4 times more reach and 3.1 times more engagement than a regular Instagram post, so they can do wonders for your Insta account!
And they’re pretty fun to design once you get the hang of it;)
What size should I create my carousels?
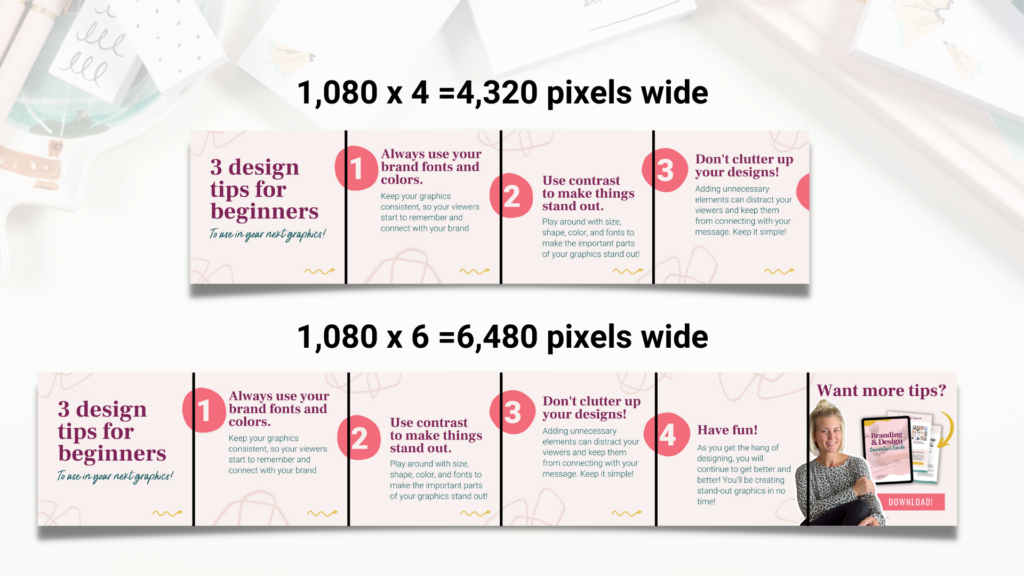
The size and dimensions are going to vary depending on how many slides your Instagram carousel post is made up of. For example, four slides would be 1080 pixels tall by 1010 x 4 (4,320 pixels) wide. Simple math! Canva currently only allows you to create a document up to 8,000 pixels wide, which means if you want to create a carousel post that’s more than seven slides long, you might have to do a little bit of finagling and combine two different documents.
Single image design vs. long image design
You may be wondering why you can’t just create a standard Instagram post and design each slide page by page… But I’ll tell you that it is much easier to design these seamless posts when you can see the whole entire carousel in one shot. Having elements that cross from slide to slide lets your viewer know that there’s more content in your post.
Trust me on this one:)
Utilize Canva’s rulers and guides
Designing long carousel graphics is easier with the help of Canva’s built-in guides and rulers, which will help you design in a more organized way.
To enable rulers guides on your Canva document, you can use the keyboard shortcut Shift+R. Once you have your grulers visible and your square all the way over here to the left, you can click and drag these guides to the correct place in your document to help you visualize each slide of your carousel post.
This is all much easier to learn by video, so I recommend you watch it at the top of this post. 🙂
Basically, you are going to add a 1080 x 1080 px square to your document, pull the guide from the ruler on the left, and then move your box down your carousel post to create more guides until you reach the end.
Add your background-color
The next step is to add your background color, which will hopefully be one of your brand colors. It doesn’t matter if it’s light or dark. If you’re using a light color, you will want your text to be dark – and vice versa. Doing this will create some contrast in your graphic and ensure that your viewers can read your text.
Two important Instagram Carousel slides
The first slide of your Instagram Carousel post is really important, as it’s the first slide that your viewers are going to see. You will want to put your attention-grabbing headline on it and make sure that you’re adding text and images that really grab their attention as they’re scrolling through the feed. Use this first slide to get your viewer interested in your content and excited to scroll through all of your slides!
The last slide is also very important. This final slide is where you’re going to be adding your call to action. It’s your chance to get them to take action and prompt them to do exactly what you want them to do. A few examples may be: download your freebie, check out your online shop, book a one-on-one call with you or join your Facebook group.
Make your CTA slide more engaging by adding:
- Photos of you
- Mockup of your digital product or offer
- Link in bio button
Add a visual “swipe left” cue
It’s a good idea to add some kind of visual cue that lets your viewer know that there are more slides in your post and encourage them to swipe through. I like to add arrows, but Canva has a bunch of fun “swipe left” graphics in the element library. Just search for “Instagram swipe left” and you’ll see some fun options. You want these indicators to be in the same place on all of your slides. To do this easily, hold Shift + Alt to drag your element across your document. (You don’t need to have it on the last image because there’s no more swiping after that.)
Fill up the middle slides with content
Next, you can populate each slide with different bits of your content. Maybe you’re showing a step-by-step process, a bunch of tips, showcasing some student testimonials or even highlighting some projects that you’ve recently worked on.
It’s important to keep your fonts and colors consistent from slide to slide. This will help you create a really seamless carousel post that’s super consistent. It’s a good idea to copy/paste your text from slide to slide so you don’t have to worry about fonts being of different sizes or colors.
Make it seamless!
The beauty of an Instagram carousel post is that it all flows together to create a seamless experience for your viewer. You can create this flow by intentionally placing elements over the grids of your document. Find some on-brand elements and place them here and there along the bottom, top and guides of your post. Anything you place on the grids will really help create that seamless flow.
Next, you can populate each slide with different bits of your content. Maybe you’re showing a step-by-step process, a bunch of tips, showcasing some student testimonials or even highlighting some projects that you’ve recently worked on.
It’s important to keep your fonts and colors consistent from slide to slide. This will help you create a really seamless carousel post that’s super consistent. It’s a good idea to copy/paste your text from slide to slide so you don’t have to worry about fonts being of different sizes or colors.
How to cut up your Instagram Carousel image
I show you two ways (so much easier to explain by video!) in the YouTube video at the top of this blog post. One method uses Canva and the other method uses pinetools.com. Both ways work nicely and it’s up to you to decide which method you prefer!
Once you have your carousel post sliced up, you can upload all of the images to your Instagram post and enjoy the engagement:)
On-Demand Design Training
If you’re itching to learn more about branding your business, designing amazing graphics to market your content, and offers with a healthy dose of Canva know-how, tune into my free, on-demand graphic design training, Design Class 101: From Chaos to Canva Pro!

Liked this post? Share the love and pin your favorite image for later!